|
| |
Following on from our recent article of how to replace the pins on our CarbonCycles alloy pedals, it is now time for the next step along the service route. This session is a bit more complicated and will take a bit longer to perform, but it will turn your slightly rough running pedals into a pair of freely spinning beauties. The principles of this ‘How to…’ guide apply to most of our flat pedals, but we have chosen our Alloy Flat Pedal (code: CC-PED07F) as our example pedal.
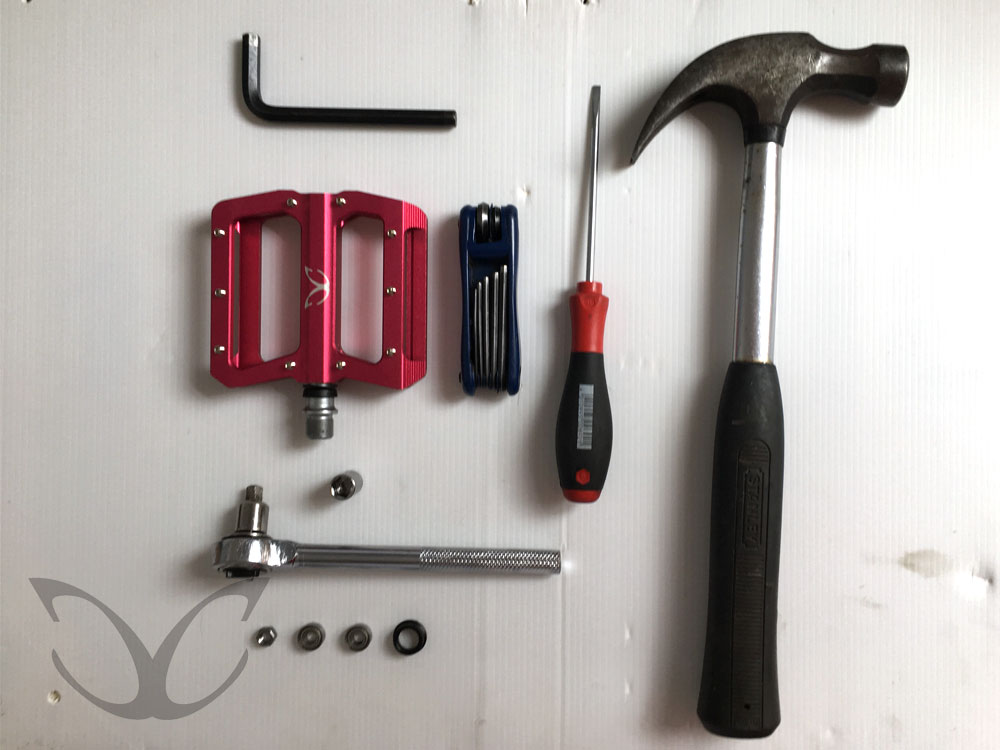
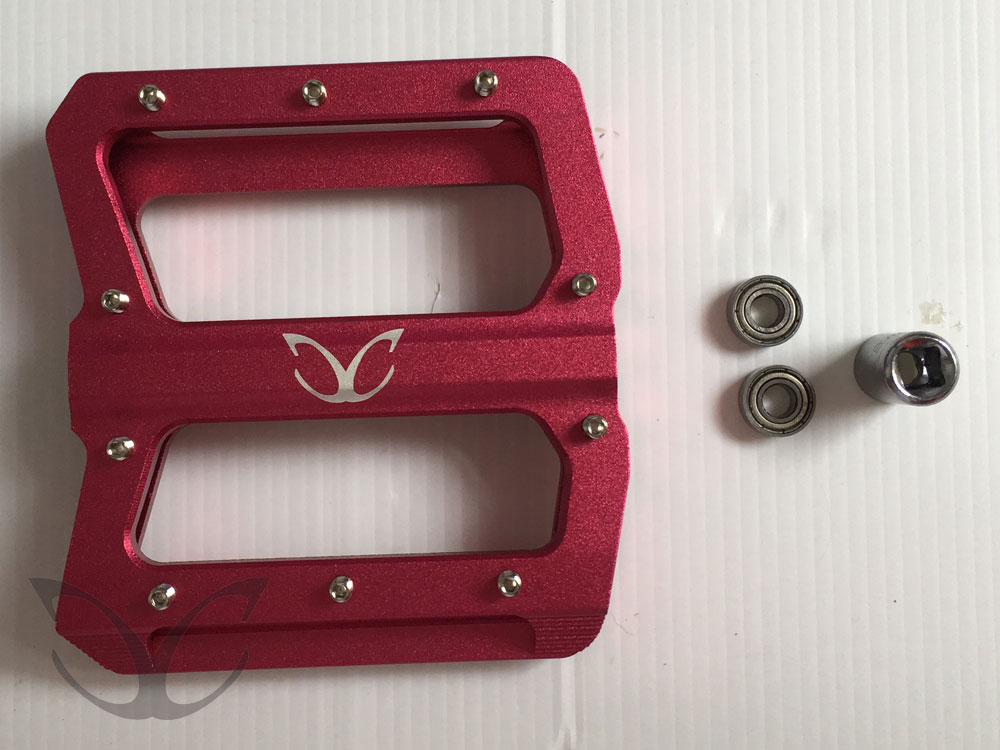
1.) So, what you need for this job are the items shown in the picture. Your pedal, removed from the crank and a bushing kit (item number: CC-PP01KIT). As far as tools go you need: a multi-tool, an 8mm Allen key, a socket set with a 9mm socket, some grease, a piece of cloth, a small hammer and a longish flat head (not too big) screwdriver.
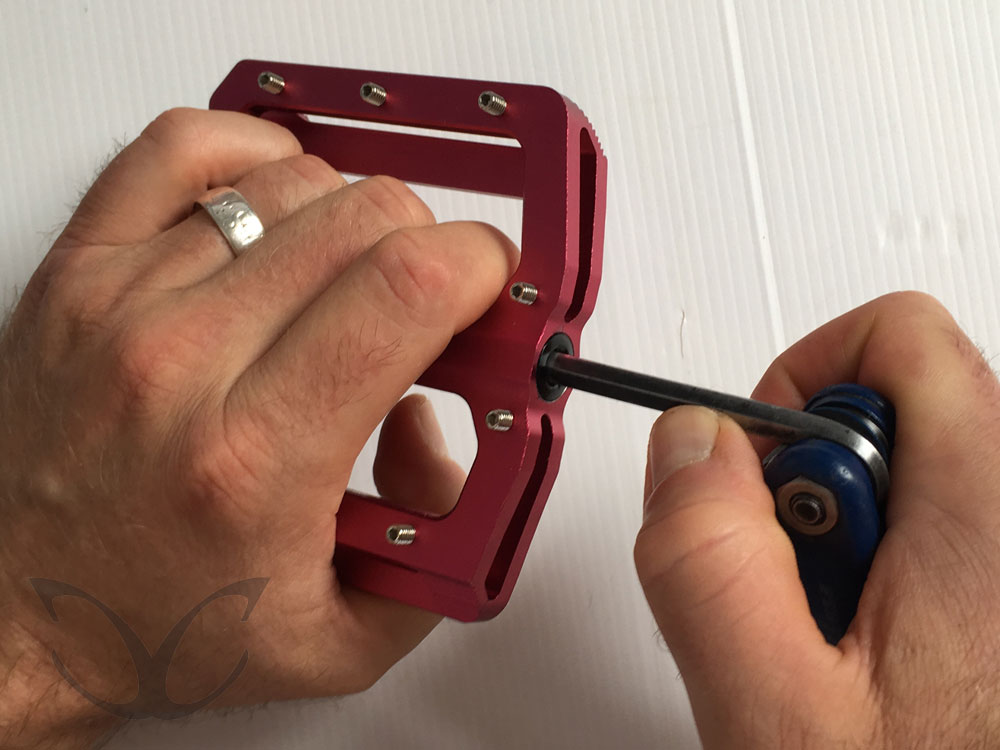
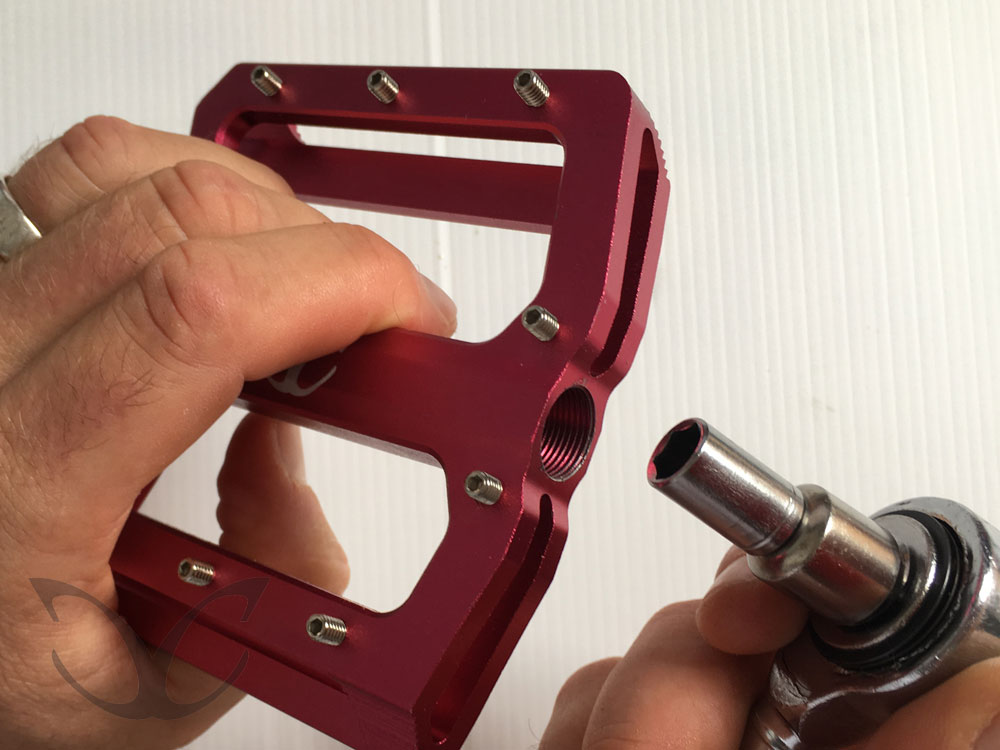
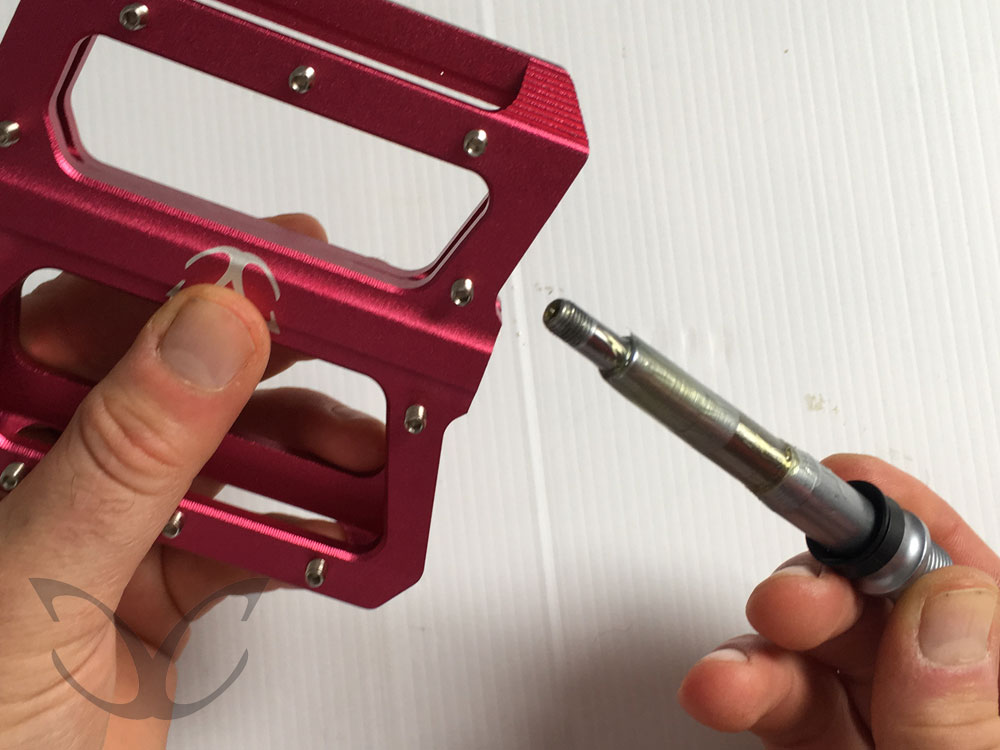
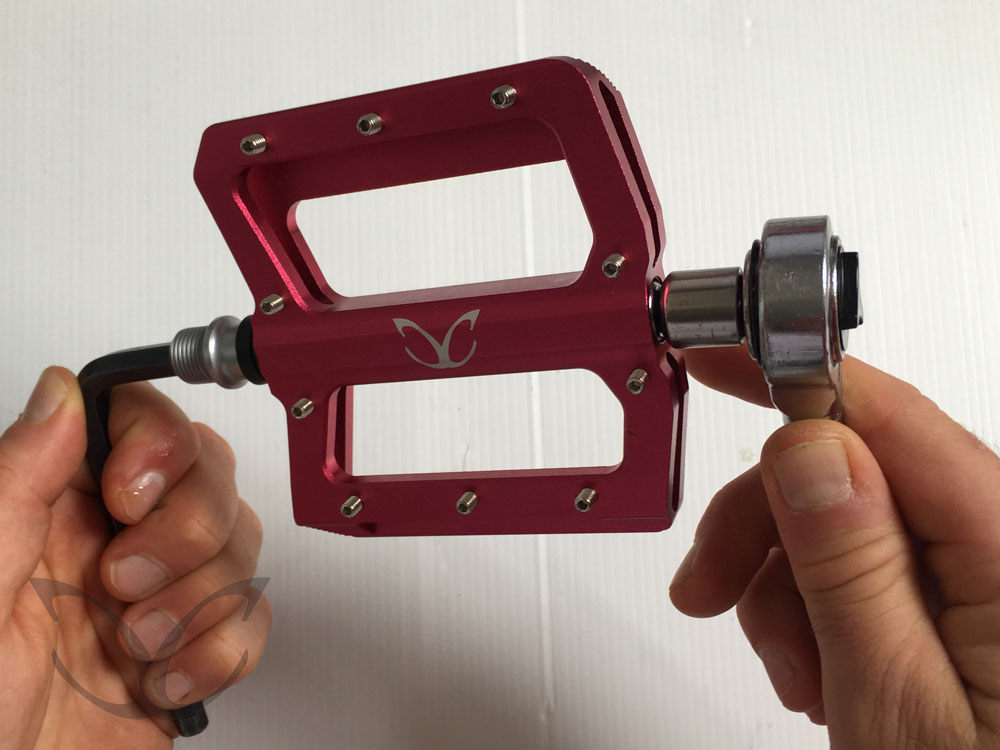
2.) As we have everything in place, let’s get going. To start with, please unscrew the caps (1st one being a dust cap – black, 2nd one being an axle cap - silver) with 6mm Allen key from the side of the pedal, which usually points away from the crank arm.
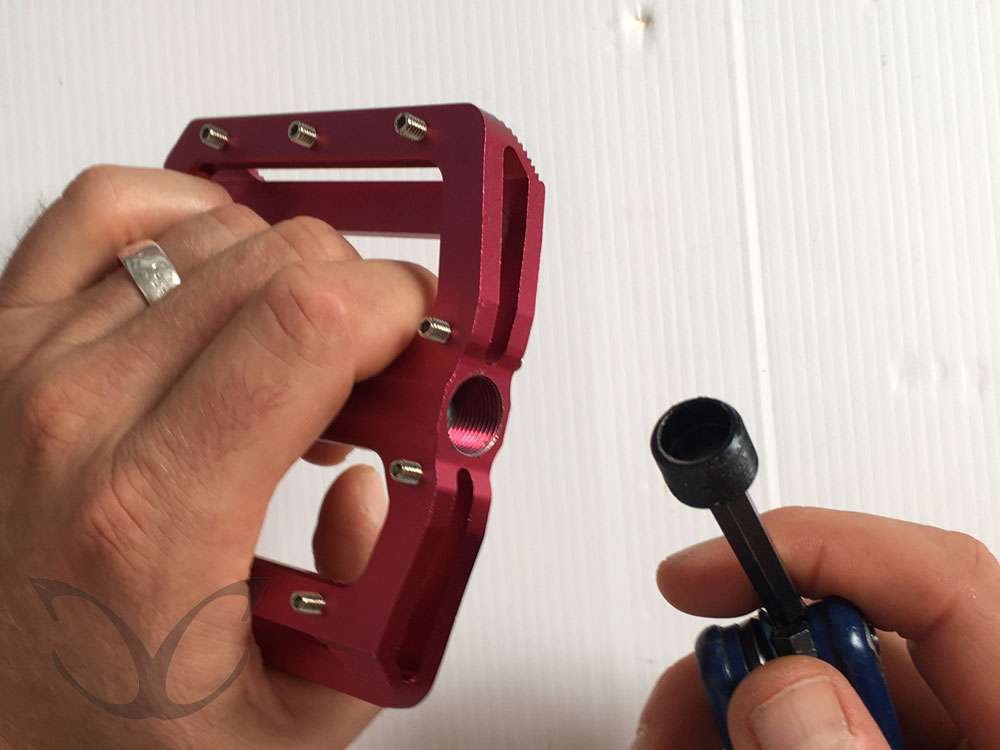
3.) Now use the 8mm Allen key on the crank arms side of the pedal to hold the axle and use 9mm socket to unscrew the inner screw nut. A small washer (depending on pedal model) might come out with the nut, please put both aside.
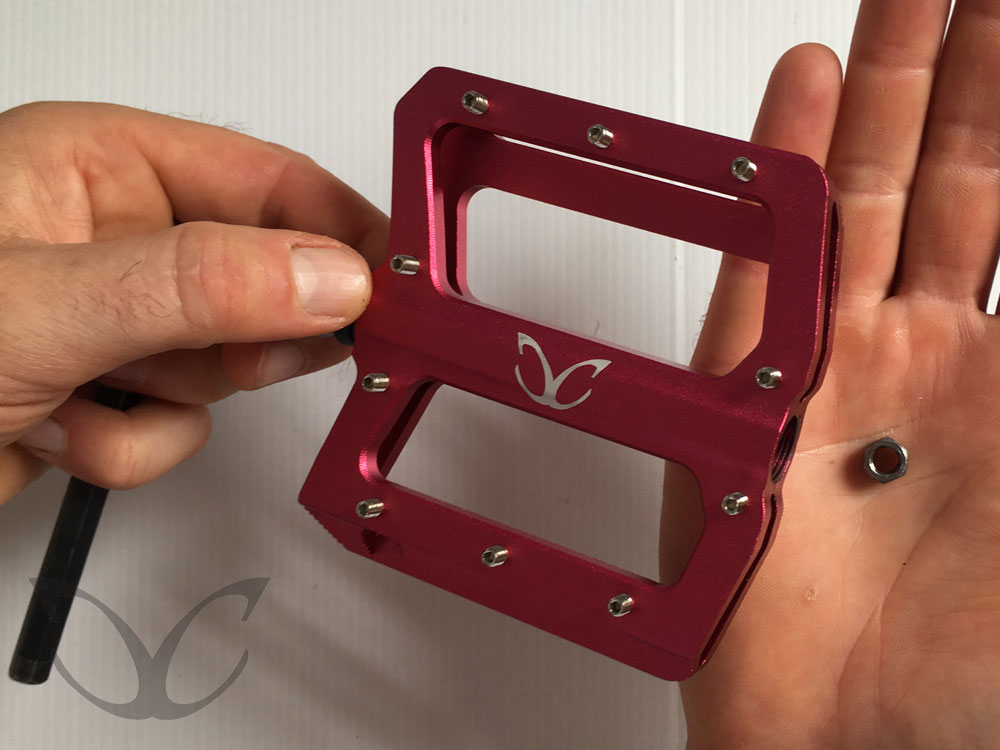
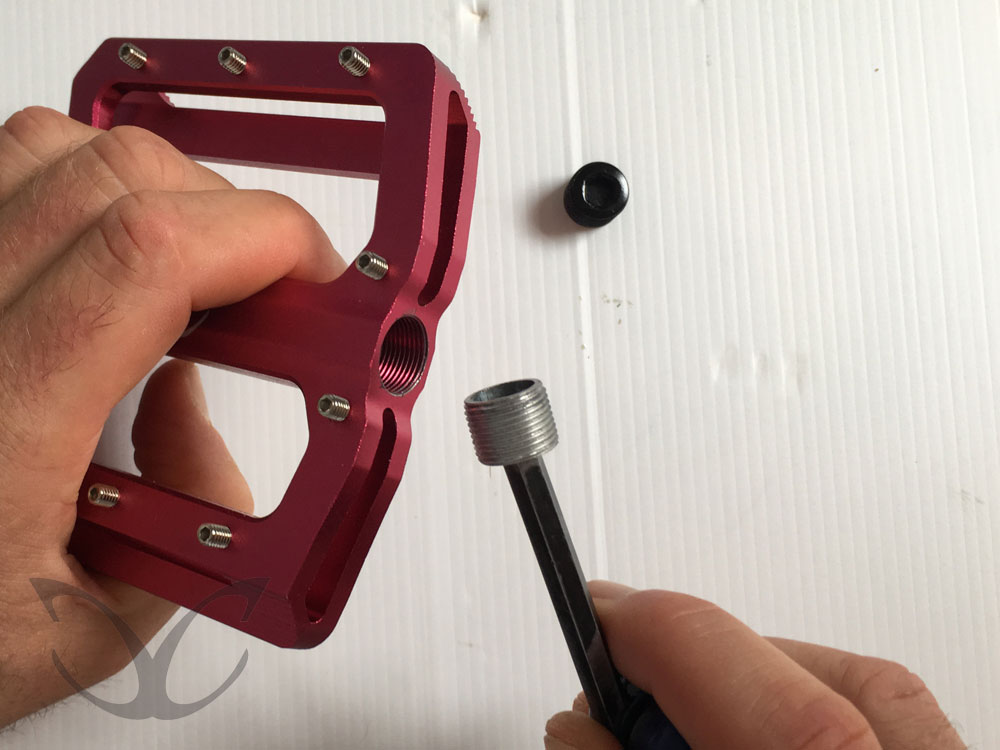
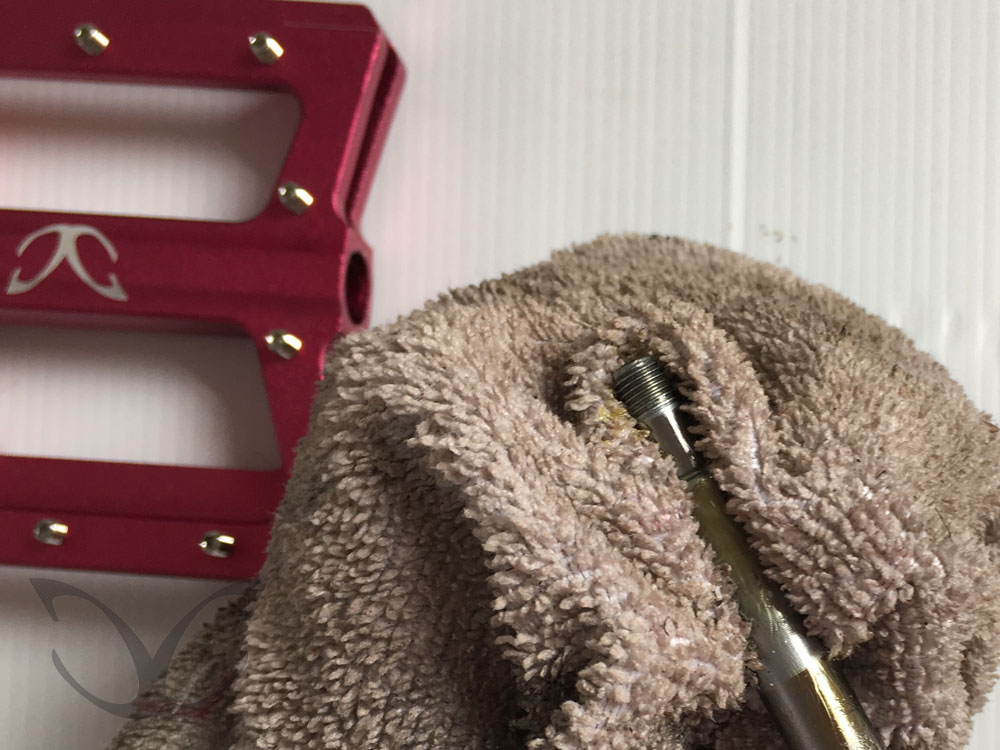
4.) You can now remove the axle. It will most likely be greasy and dirty. Please clean thoroughly before putting it aside. A rubber seal should be on the axle. Please check it for tears. If damaged, please replace. You will find the replacement in the service kit.
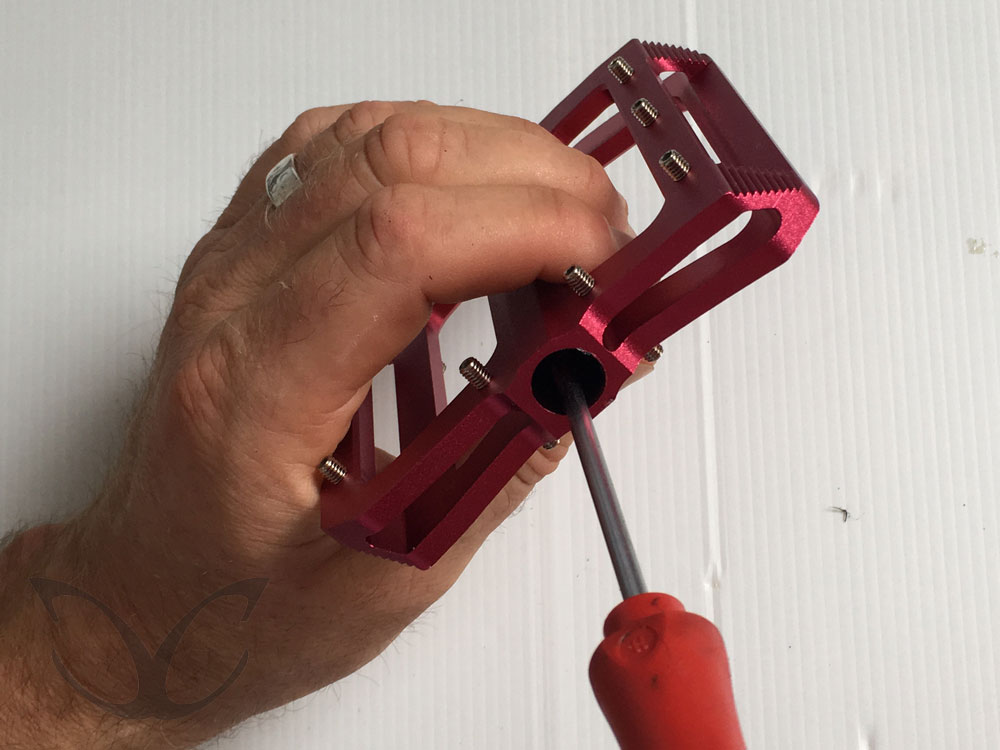
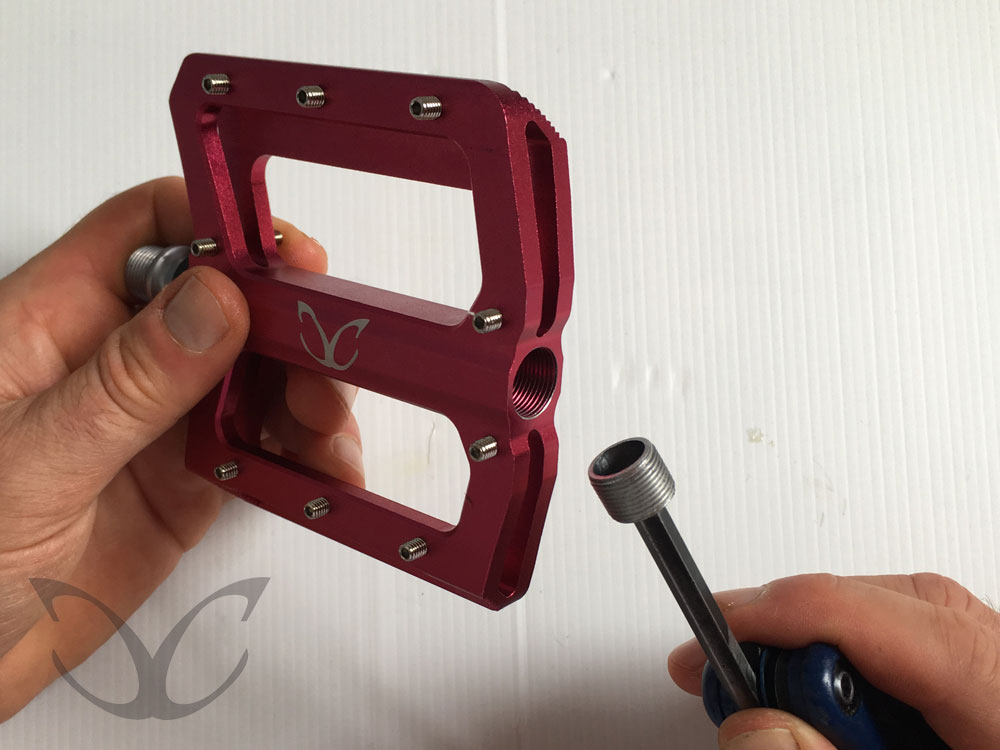
5.) Now we are going to work on the inner parts of the axle channel. To remove the two bearings (which are on the outer side – the side away from the crank arm) use the screwdriver to reach through the body (from the crank arm side) and, with little gentle taps, remove the bearings. It helps if you after every tap reposition the contact point of the screwdriver by 180 degrees to allow an even removal of the bearing.
6.) If you have to remove the bushings (which will require more specialist tools) we would recommend consulting a mechanic. Most of the time a good clean of the inside of the axle channel and a re-grease will make your pedal run smoothly again.
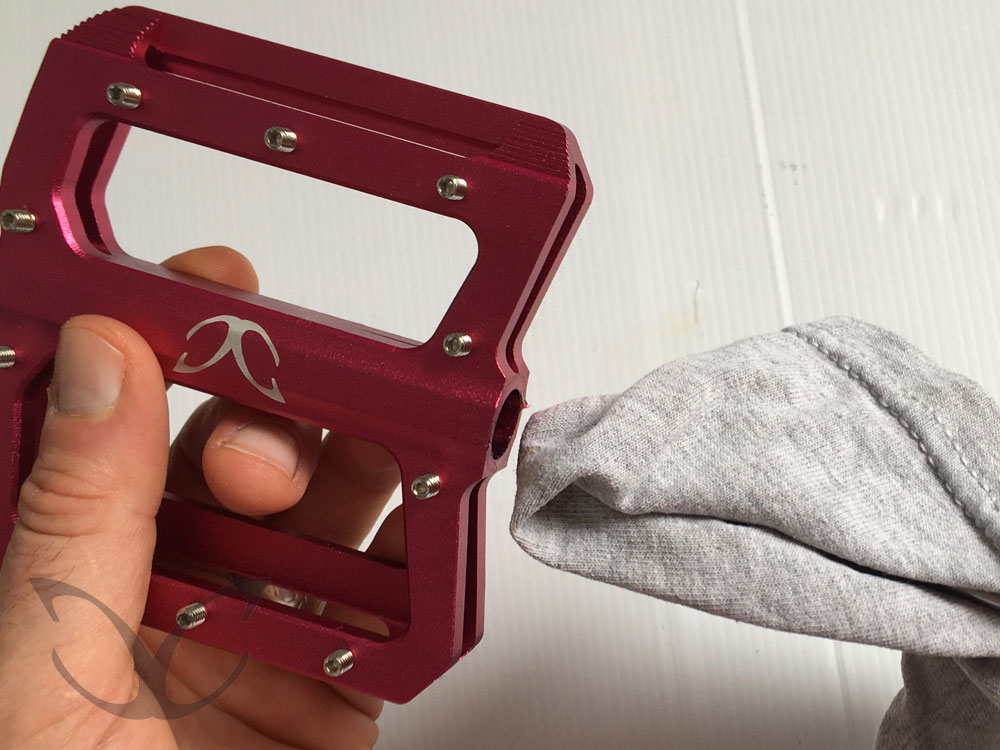
7.) Once everything is removed, please use the clean cloth and, with the help of the screwdriver, push it through the axle channel for a thorough clean.
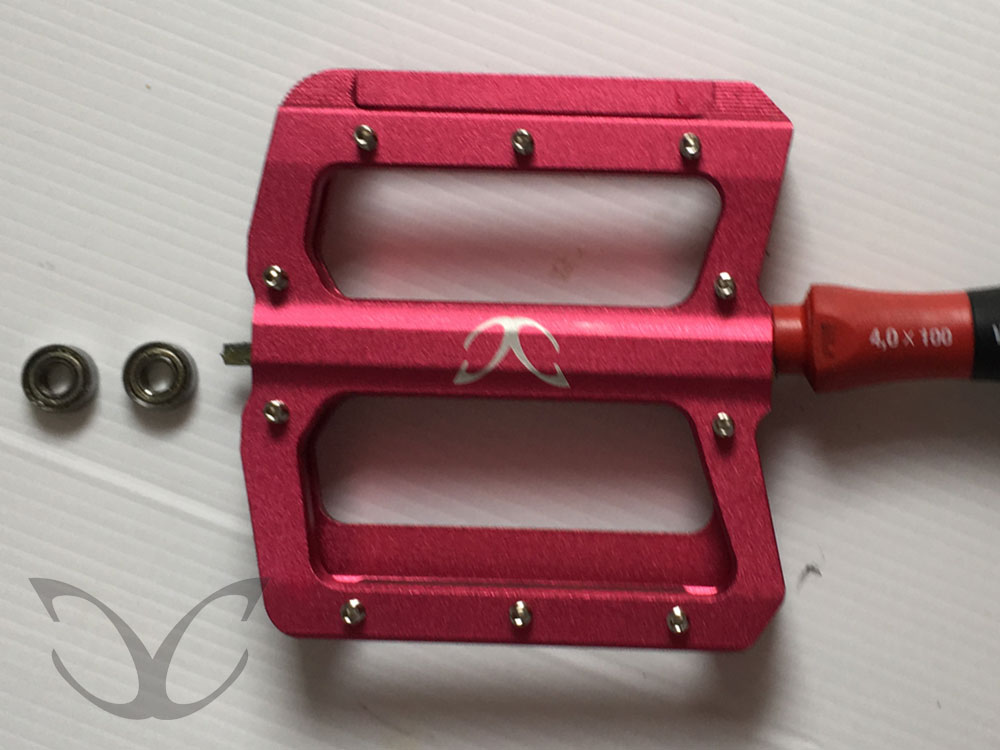
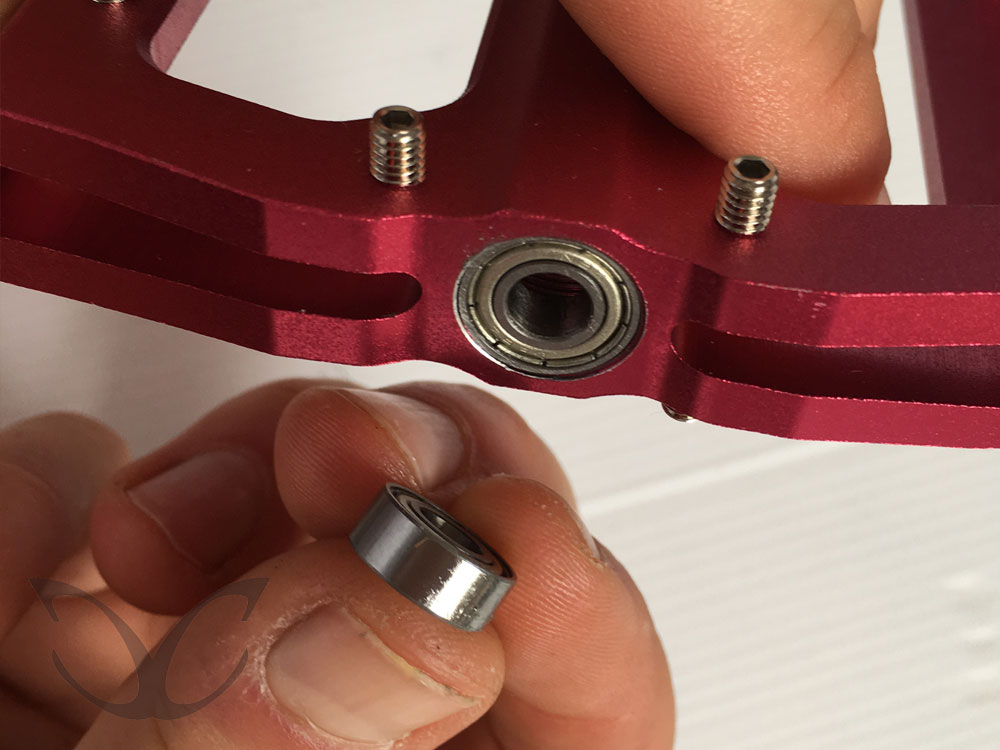
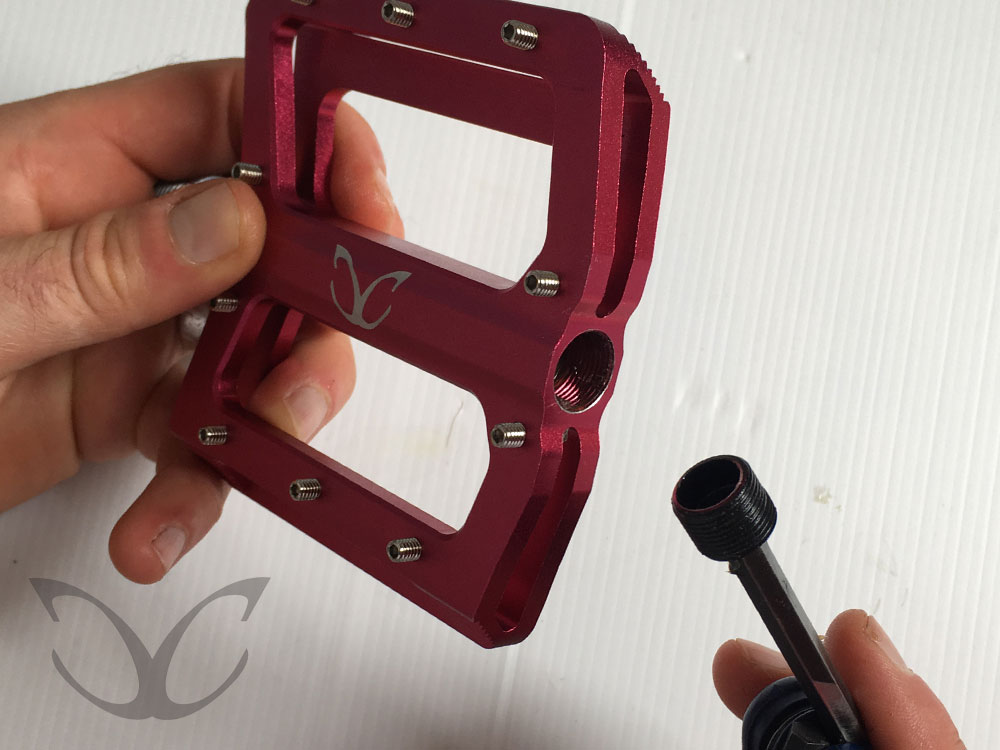
8.) Now we are going to install the new bearings from our service kit.
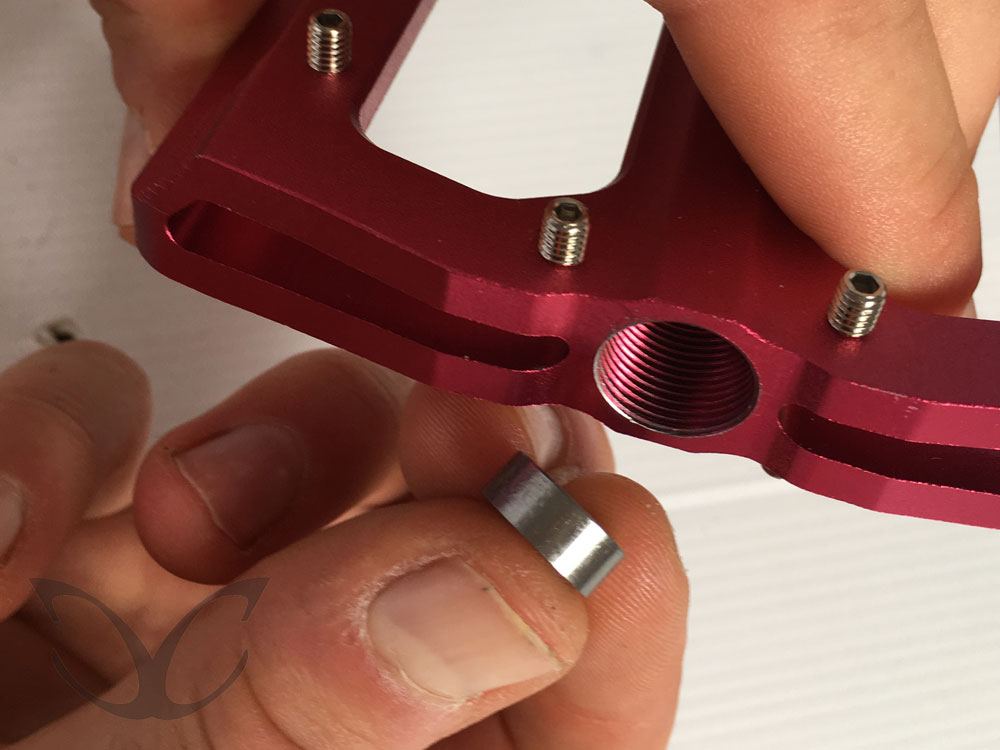
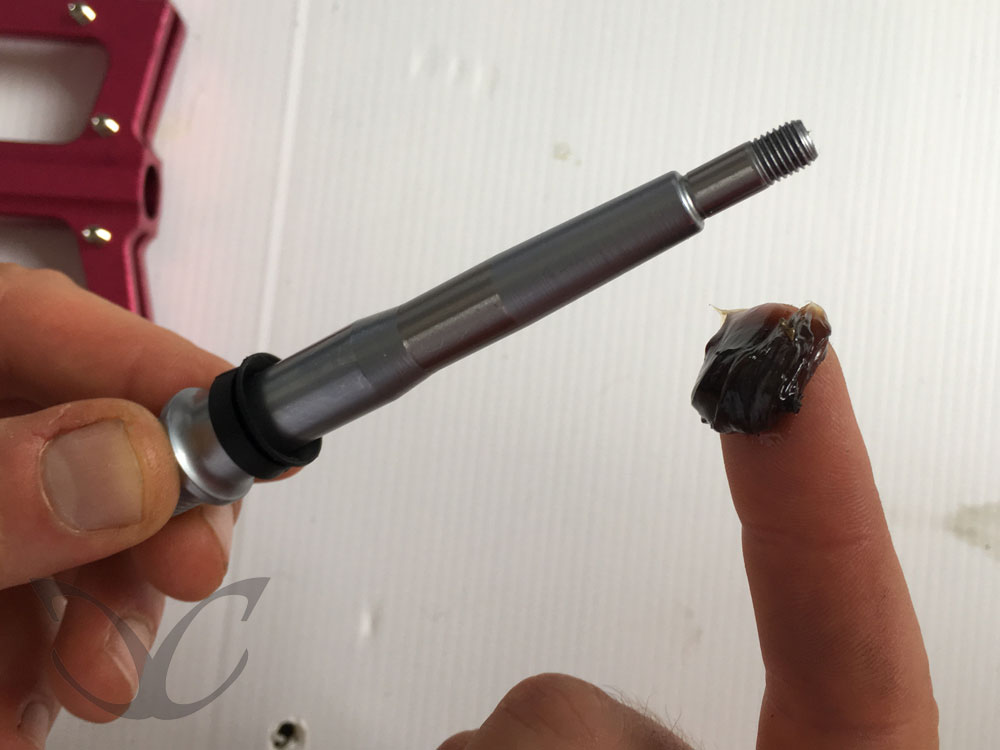
9.) Apply a small amount of grease to the outer side of the bearing (for easy installation) and insert it back into the axle channel from the side of the pedal, which has a thread inside the axle channel.
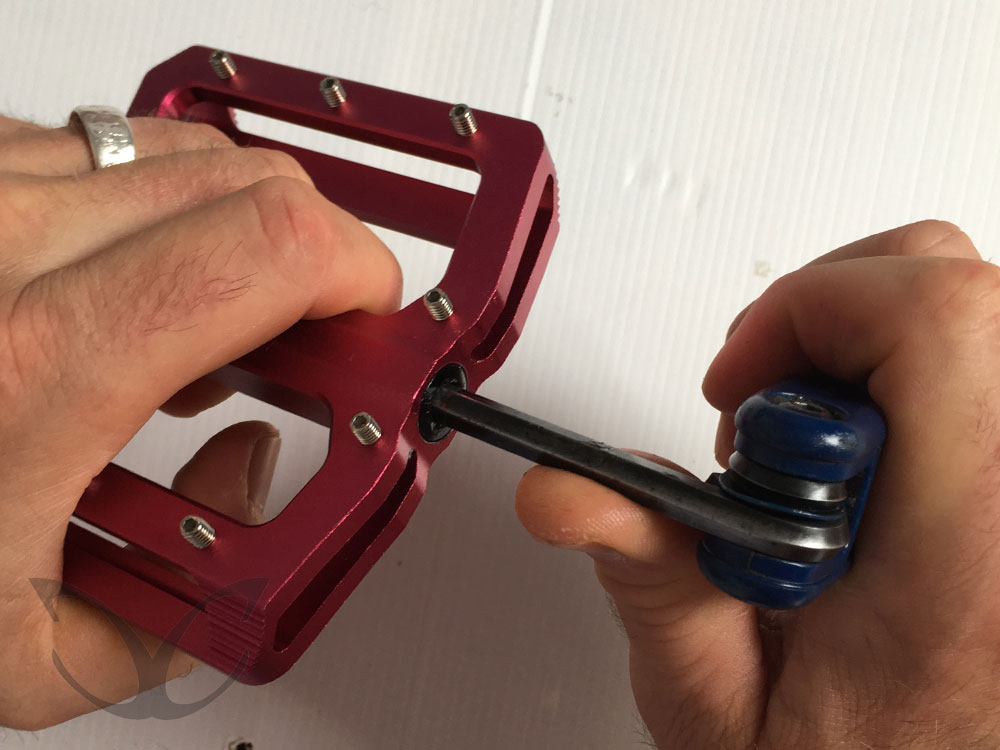
10.) Use the 9mm socket end to tap it into place. This should slot in fairly easily, so no huge force required.

11.) Repeat step 10 with the 2nd bearing.
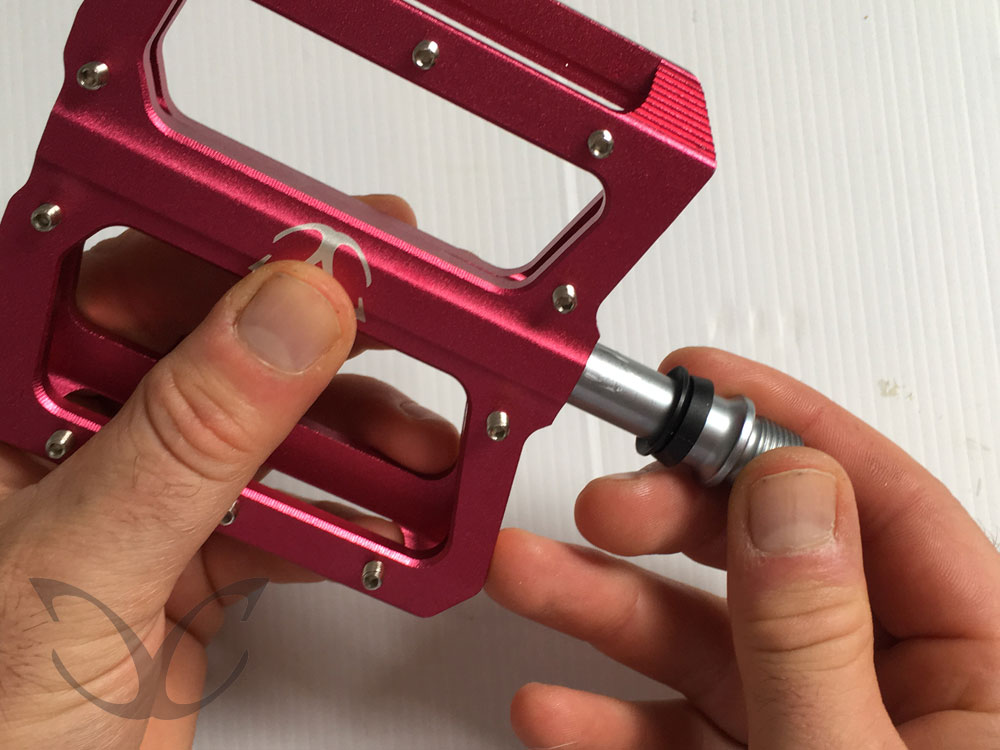
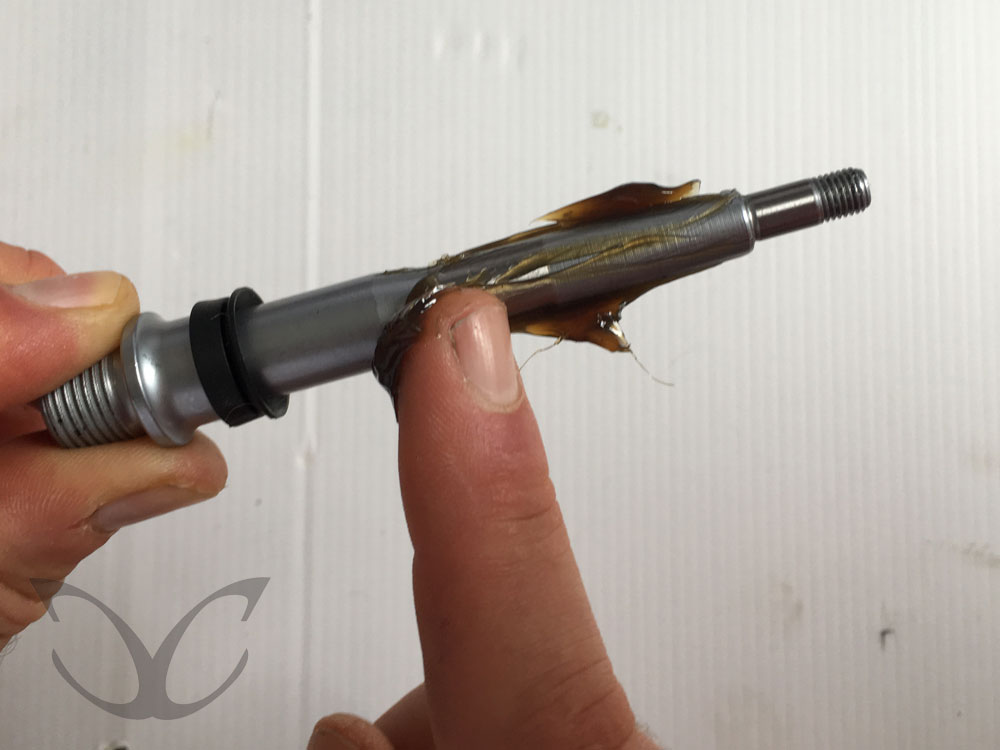
12.) Now grab the axle and apply a layer of grease before you insert it back into the axle channel. To make sure that you are inserting it back into the correct opening, please check which side has a thread inside the opening of the axle channel. Please insert the axle into the side, which does not have a thread.
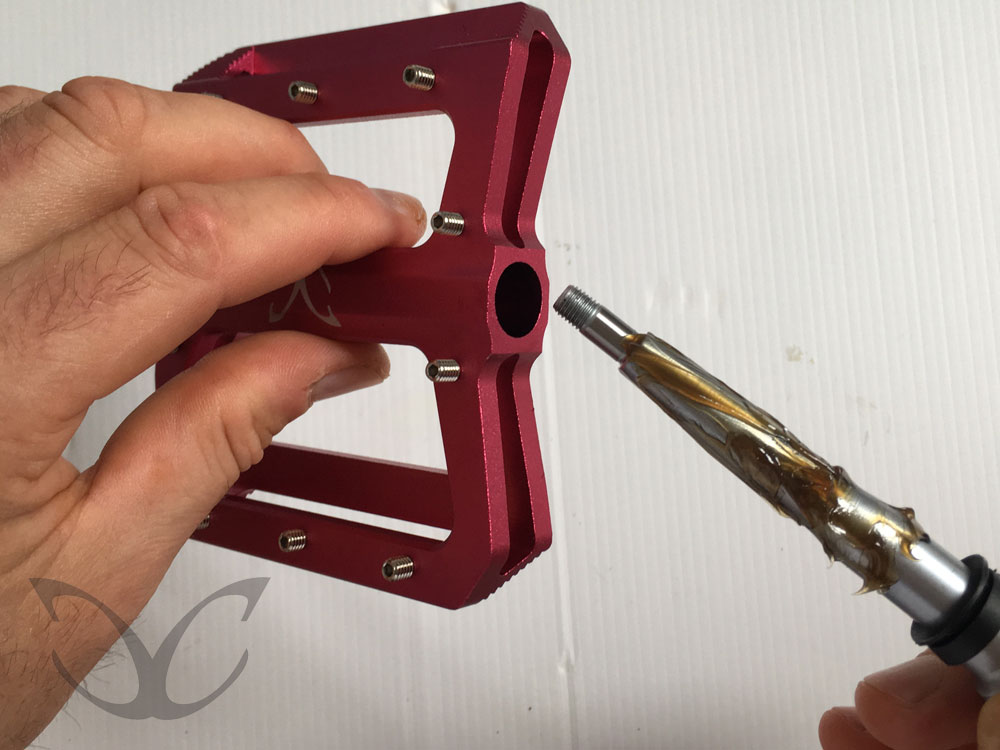
13.) Guide the axle first through the bushing and then through the two bearings. This should happen without any resistance. If it is difficult, please recheck the steps mentioned above. Make sure that the rubber seal of the axle sits flush against the pedal body to prevent any dirt or moisture entering the axle channel. If the end of the axle should push the bearings out of place, please use the 9mm socket (with the 9mm opening going into the axle channel first) to tap the bearing in place.
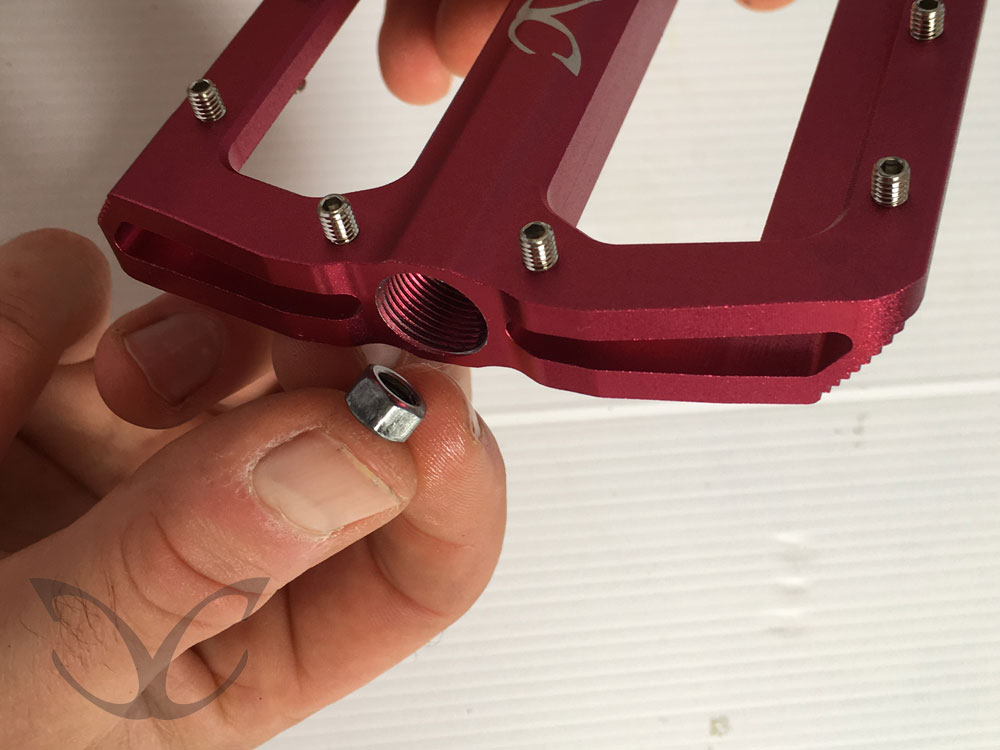
14.) Put the washer onto the threaded (if you have removed a washer) axle end before screwing the screw nut back on in a clockwise direction. Do this with the help of the 9mm socket.

15.) To finally secure the screw nut, hold the crank side part of the axle with the 8mm Allen key and tighten. Make sure you don’t over tighten the system.
16.) The axle should turn freely but will have ‘forward and backwards’ play.
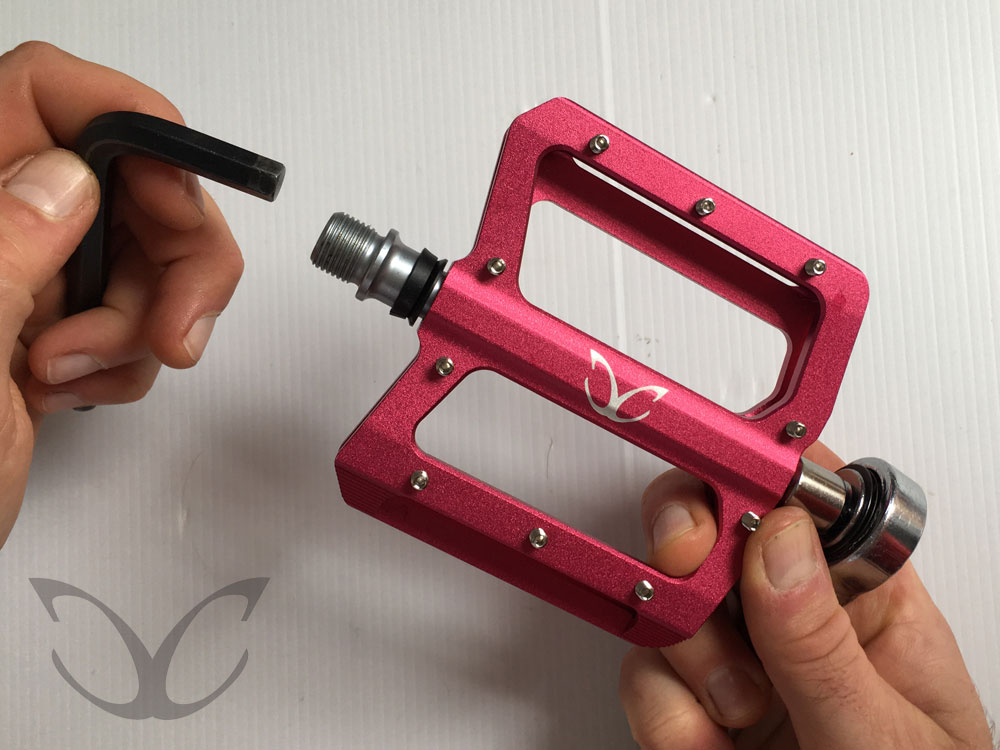
17.) To finish the job and to eliminate the ‘forward and backwards’ play you will have to insert 1st the silver axle cap with a 6mm Allen key. Please screw it all the way into the axle channel in a clockwise direction. Once this is in place there should be no ‘forward and backwards’ play in the axle.
18.) Finally, with the help of the 6mm Allen key, screw the black dust cap back into the axle channel. They should be hand tight, again making sure that you don’t over tighten the system.
That’s it. Your pedal should be as good as new now, and in particular, if you have replaced the pins as well, then you should have many trouble free and super grippy hours of biking ahead of you.
Look out for some more ‘How to…’ guides in the new future.
Disclaimer:
Please note that our ‘How to…’ guides are only advisory and that we cannot be held accountable for any damage or cost in relation to this article. If you use the information in this document, you take full responsibility for the outcome. If you are at all unsure please have a qualified bicycle mechanic do this job for you. Incorrect installation can lead to failure and serious injury. |
by Mikethebike Fri Aug 17, 2018
|
|
